


Make Your Own Starter
What You Need
To start:
-1 cup (113g) of whole wheat flour
-1/2 cup (113g) cool water
To feed the starter:
-1 cup (113g) unbleached all-purpose flour
-1/2 cup (113g) water: cool if your house is warm, or lukewarm if your house is cool
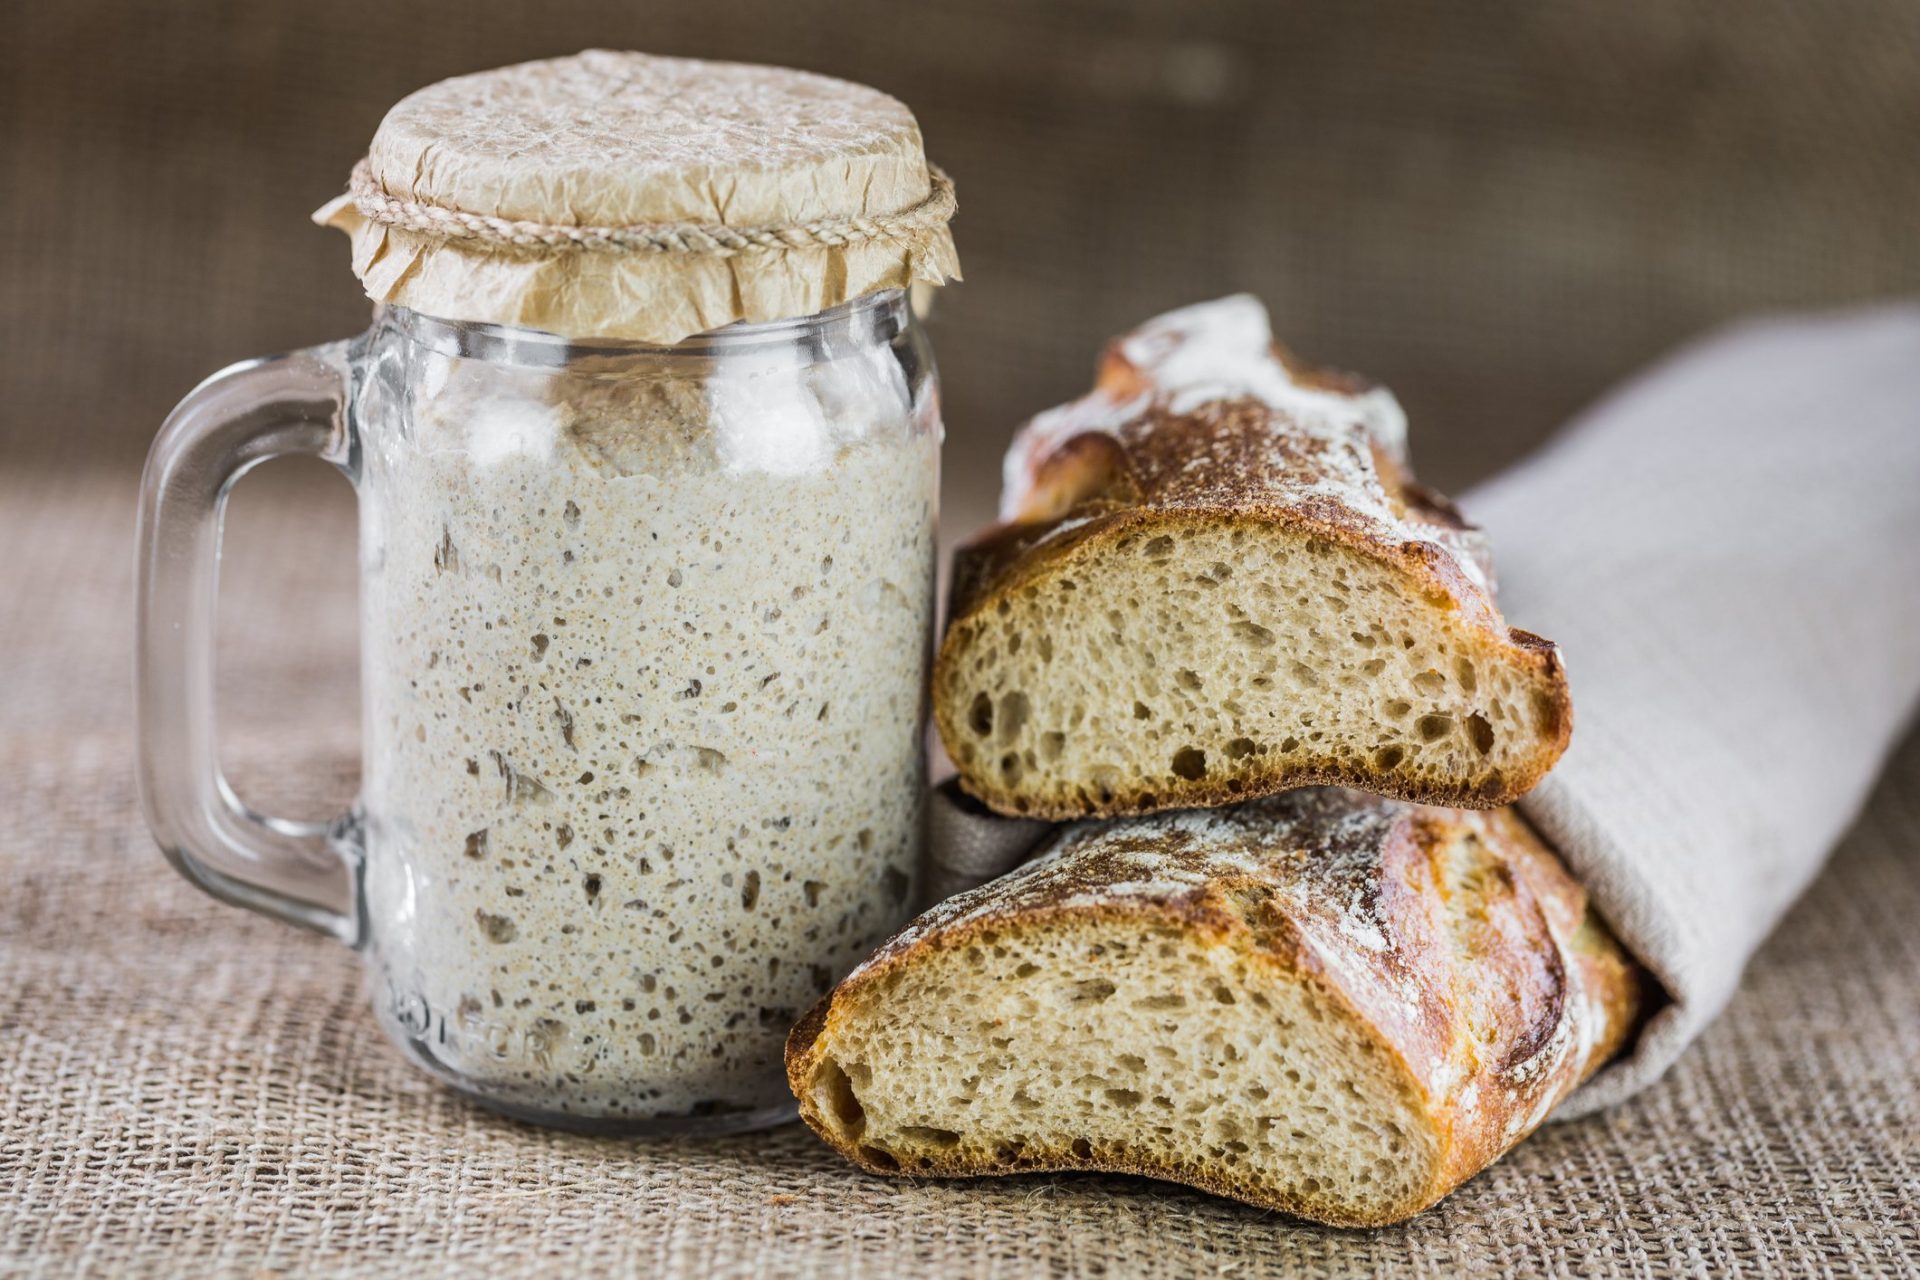
You Can Bake Your Own Delicious Crusty Bread
What To Do
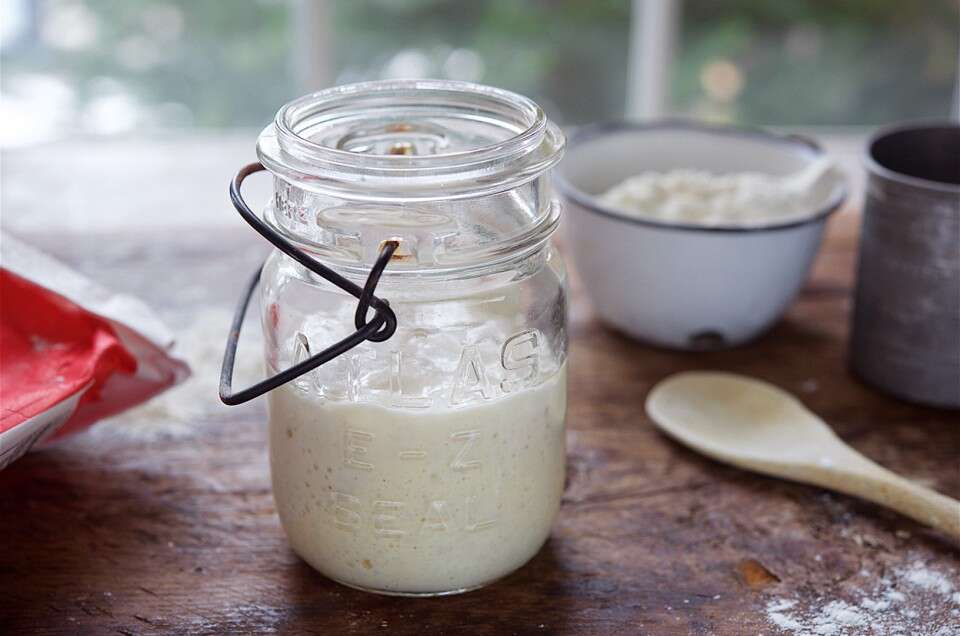
Day 1: mix together the whole wheat flour with water in a container that’s made of glass, stainless steel, or food-grade plastic. It’s important that it is made of non-reactive material, otherwise it could impact your starer. Make sure you choose a container that will allow for growth, so something that’s about 1 quart should work.
Mix everything together, making sure that there are no lumps or dry flour left. Loosely cover the container and allow it sit in a warm temperature, about 70 degrees F, for 24 hours.
Day 2: It’s normal not to see any changes in the first day, but it’s also normal to see bubbling or a little bit of growth. Remove half and throw it out (about 113g) and to the remaining starter, add in 1 cup of all purpose flour and 1/2 cup water. Mix everything well and let it rest covered for another 24 hours.
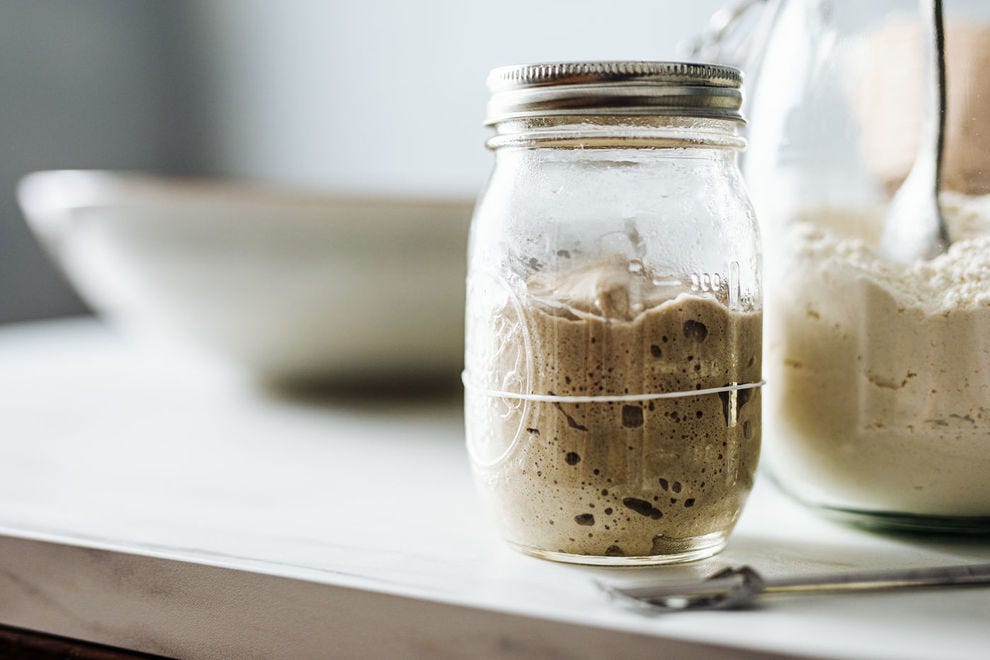
Day 3: Now you should be seeing some activity like bubbling. You should also smell your starter, it should have a fruity aroma. There should also be growth and expansion at this point. Now you can start twice a day feedings, and evenly spaced timing is ideal. Each time, you’ll need to weigh 113g of starter and throw out the rest. Add another cup of all purpose flour and 1/2 cup water to the 113g of weighed out starter. Mix everything, cover, and let rest of 12 hours before feeding again.
Day 4: Weigh out 113g of starter, and throw out the rest. Repeat the steps of day 3.
Day 5: Weigh out 113g of starer, and get rid of the rest. Repeat steps of day 3. By the end of today, the starter should double in size with a lot of bubbles and some rivulets on the top surface. The smell of your starter should be acidic but pleasant and not overpowering. If it hasn’t risen, repeat weighing out, discarding, and re-feeding every 12 hours on days 6 and 7 as needed until your starter has become bubbly and has risen.
After the starter is ready, feed it one last time. Throw out everything but 113g and feed as before. Let it rest of 6 to 8 hours at room temperature. There should be plenty of bubbles at the surface.
Take out however much starter you need for the recipe you’ll be making, and transfer into a jar. Feed the reserved starter with 1 cup flour and 1/2 cup water and let it rest for a few hours uncovered until it has started its process. Then cover it loosely.
You can continue this process regularly, feeding your starter about once a week if you can.
Starter Can Be Kept & Refed Indefinitely