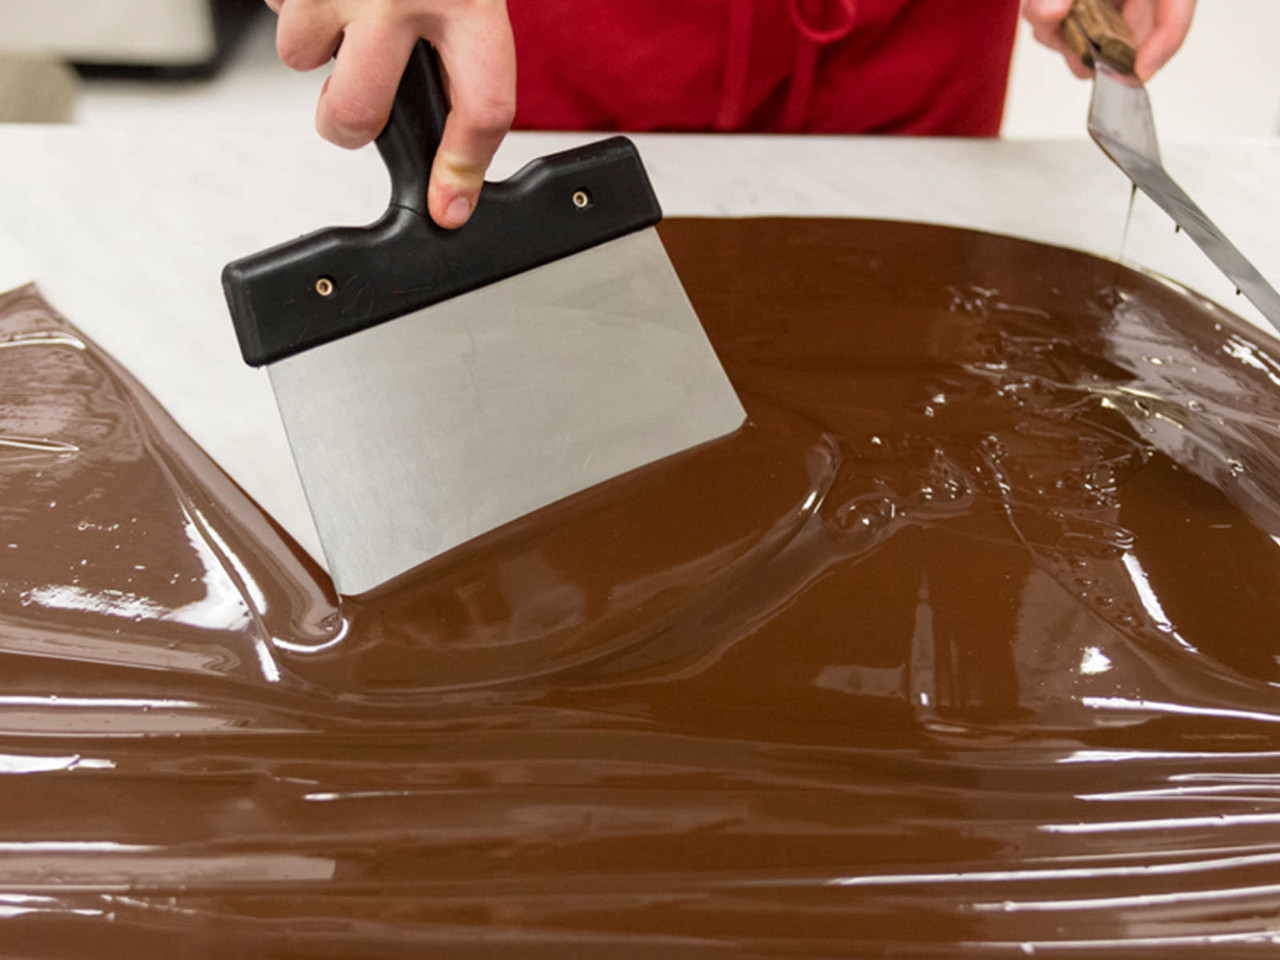
The Process Is Technical But Not Terribly Difficult
What You Need
High-quality chocolate (dark, milk, or white)
Chocolate thermometer
Microwave or double boiler
Spatula or wooden spoon
Heat-resistant bowl

Tempering Is Crucial For Candy Confections
What To Do
Begin with high-quality chocolate, preferably couverture or baking chocolate. Ensure that the chocolate is free from moisture, as any contact with water can cause it to seize.
Finely chop the chocolate into small, uniform pieces. Smaller pieces melt more evenly and quickly, facilitating the tempering process.
Melting the Chocolate: There are two common methods for melting chocolate: using a microwave or a double boiler.
Microwave Method: Place the chopped chocolate in a microwave-safe bowl. Microwave in short intervals (15-20 seconds) at medium power, stirring between each interval. Be cautious not to overheat the chocolate.
Double Boiler Method: Set up a double boiler by placing a heat-resistant bowl over a pot of simmering water. Ensure that the bowl doesn’t touch the water. Add the chocolate to the bowl and gently melt, stirring continuously.
Use a chocolate thermometer to monitor the temperature. For dark chocolate, melt it to around 115°F (46°C). For milk and white chocolate, aim for a slightly lower temperature, around 110°F (43°C).
Once melted, cool the chocolate by adding unmelted chocolate pieces (seed chocolate) to the mixture. Stir continuously until the temperature drops to the desired range: 88-90°F (31-32°C) for dark chocolate, or 85-87°F (29-31°C) for milk and white chocolate.
Optional: For extra insurance in achieving a perfectly tempered chocolate, gently reheat the chocolate to bring it back up a few degrees—around 89-91°F (32-33°C) for dark chocolate or 86-88°F (30-31°C) for milk and white chocolate.
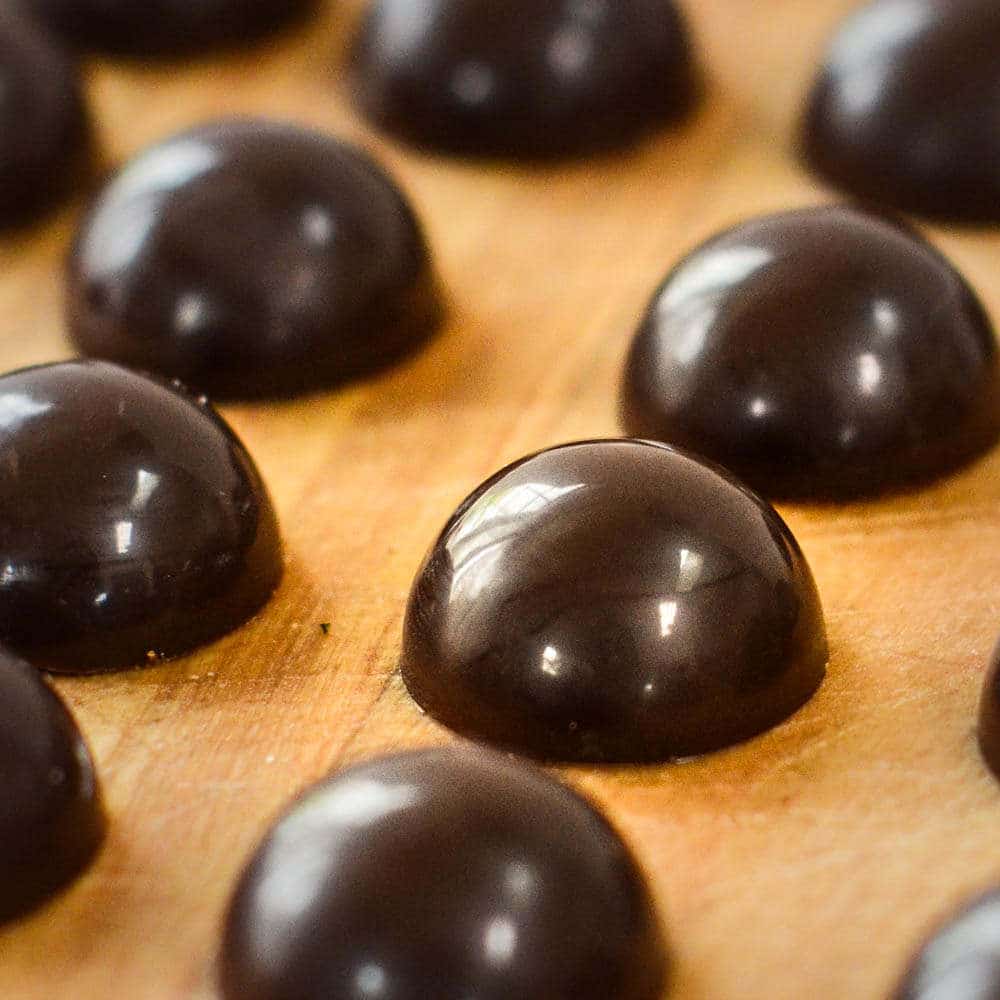
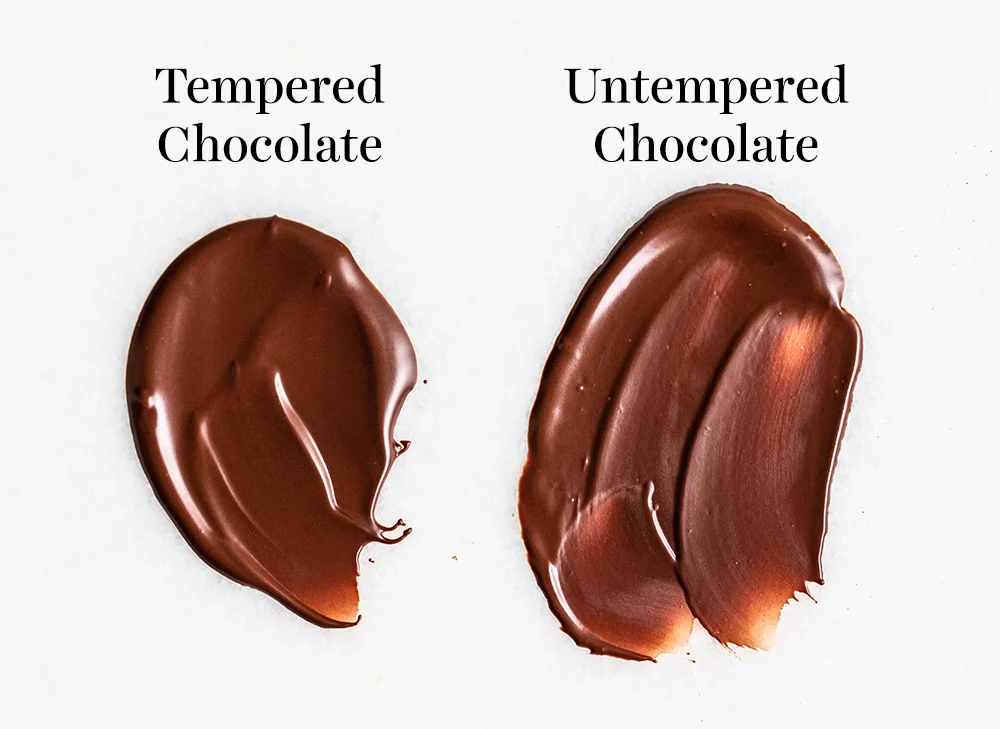
To check if the chocolate is properly tempered, dip a small piece of parchment or a spoon into the chocolate and let it set. It should harden quickly, have a glossy finish, and a satisfying snap when broken.
Once tempered, your chocolate is ready for dipping, coating, molding, or any other confectionery creations. Work efficiently, as tempered chocolate sets relatively quickly.
By following these steps, you’ll master the art of tempering chocolate, ensuring your homemade chocolates and treats have that professional finish and a delightful texture. Enjoy your sweet creations!

The Difference Is Huge


