Sugar Cookies
What You Need
Sugar Cookies
2 1/2 cups all-purpose flour
1 tsp baking powder
1/2 tsp salt
1 cup unsalted butter, softened
1 cup granulated sugar
1 large egg
1 tsp vanilla extract
1/2 tsp other extract, details below

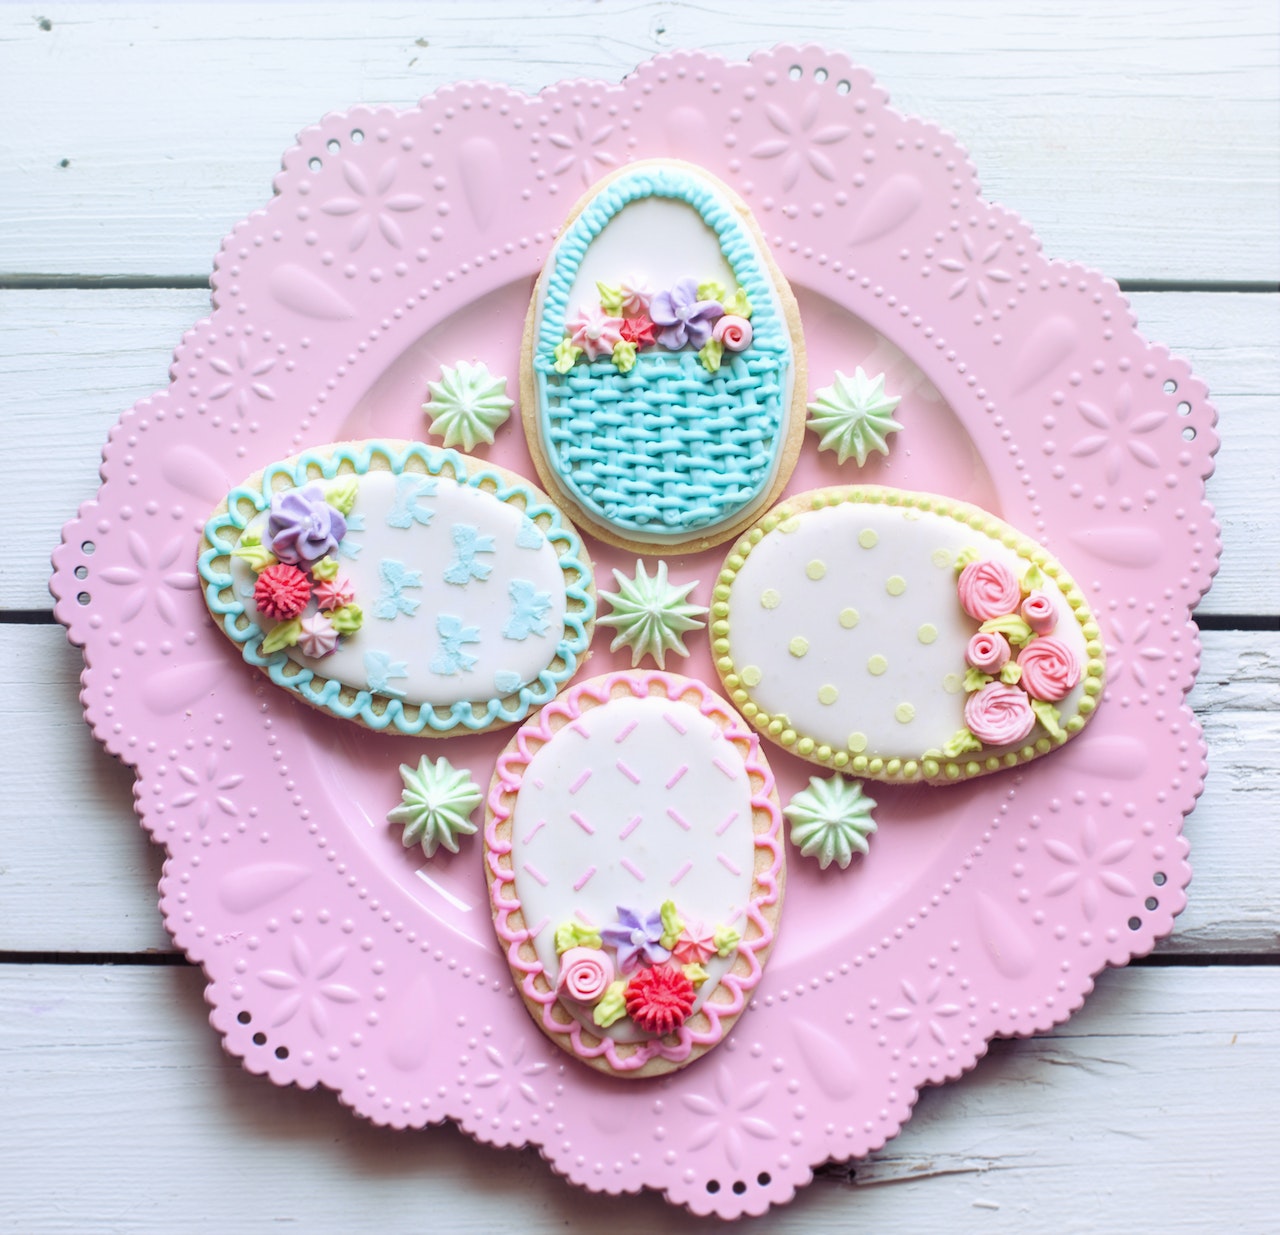
Designs Can Be Quite Intricate
Royal Icing
4 cups powdered sugar
3 tbsp meringue powder
1/2 cup warm water
Gel food coloring

Decorate Cookies As You LIke
What To Do
In a medium bowl, whisk together flour, baking powder, and salt. Set aside. In a large mixing bowl or stand mixer, beat softened butter until smooth, and then add the sugar. Beat together with the whisk attachment until the sugar and butter have formed an airy light mixture. Add in the eggs and vanilla extract. Now is the time when you can get creative: if you want to add another flavor to your cookies, you can add in any other extracts that you like. For example, Sally’s Baking Addiction recommends adding almond extract, which will give your cookies an additional flavor profile. If you like plain sugar cookies, feel free to skip this step.
Add in the dry ingredients until a dough has formed and is just combined, do not over-mix as this can ruin your final dough. Scoop up your dough from the bowl and divide it into two. Gently form each half into a medium sized disc and then tightly wrap it in Saran wrap. Chill the dough in the fridge for a minimum of two hours, and even overnight.
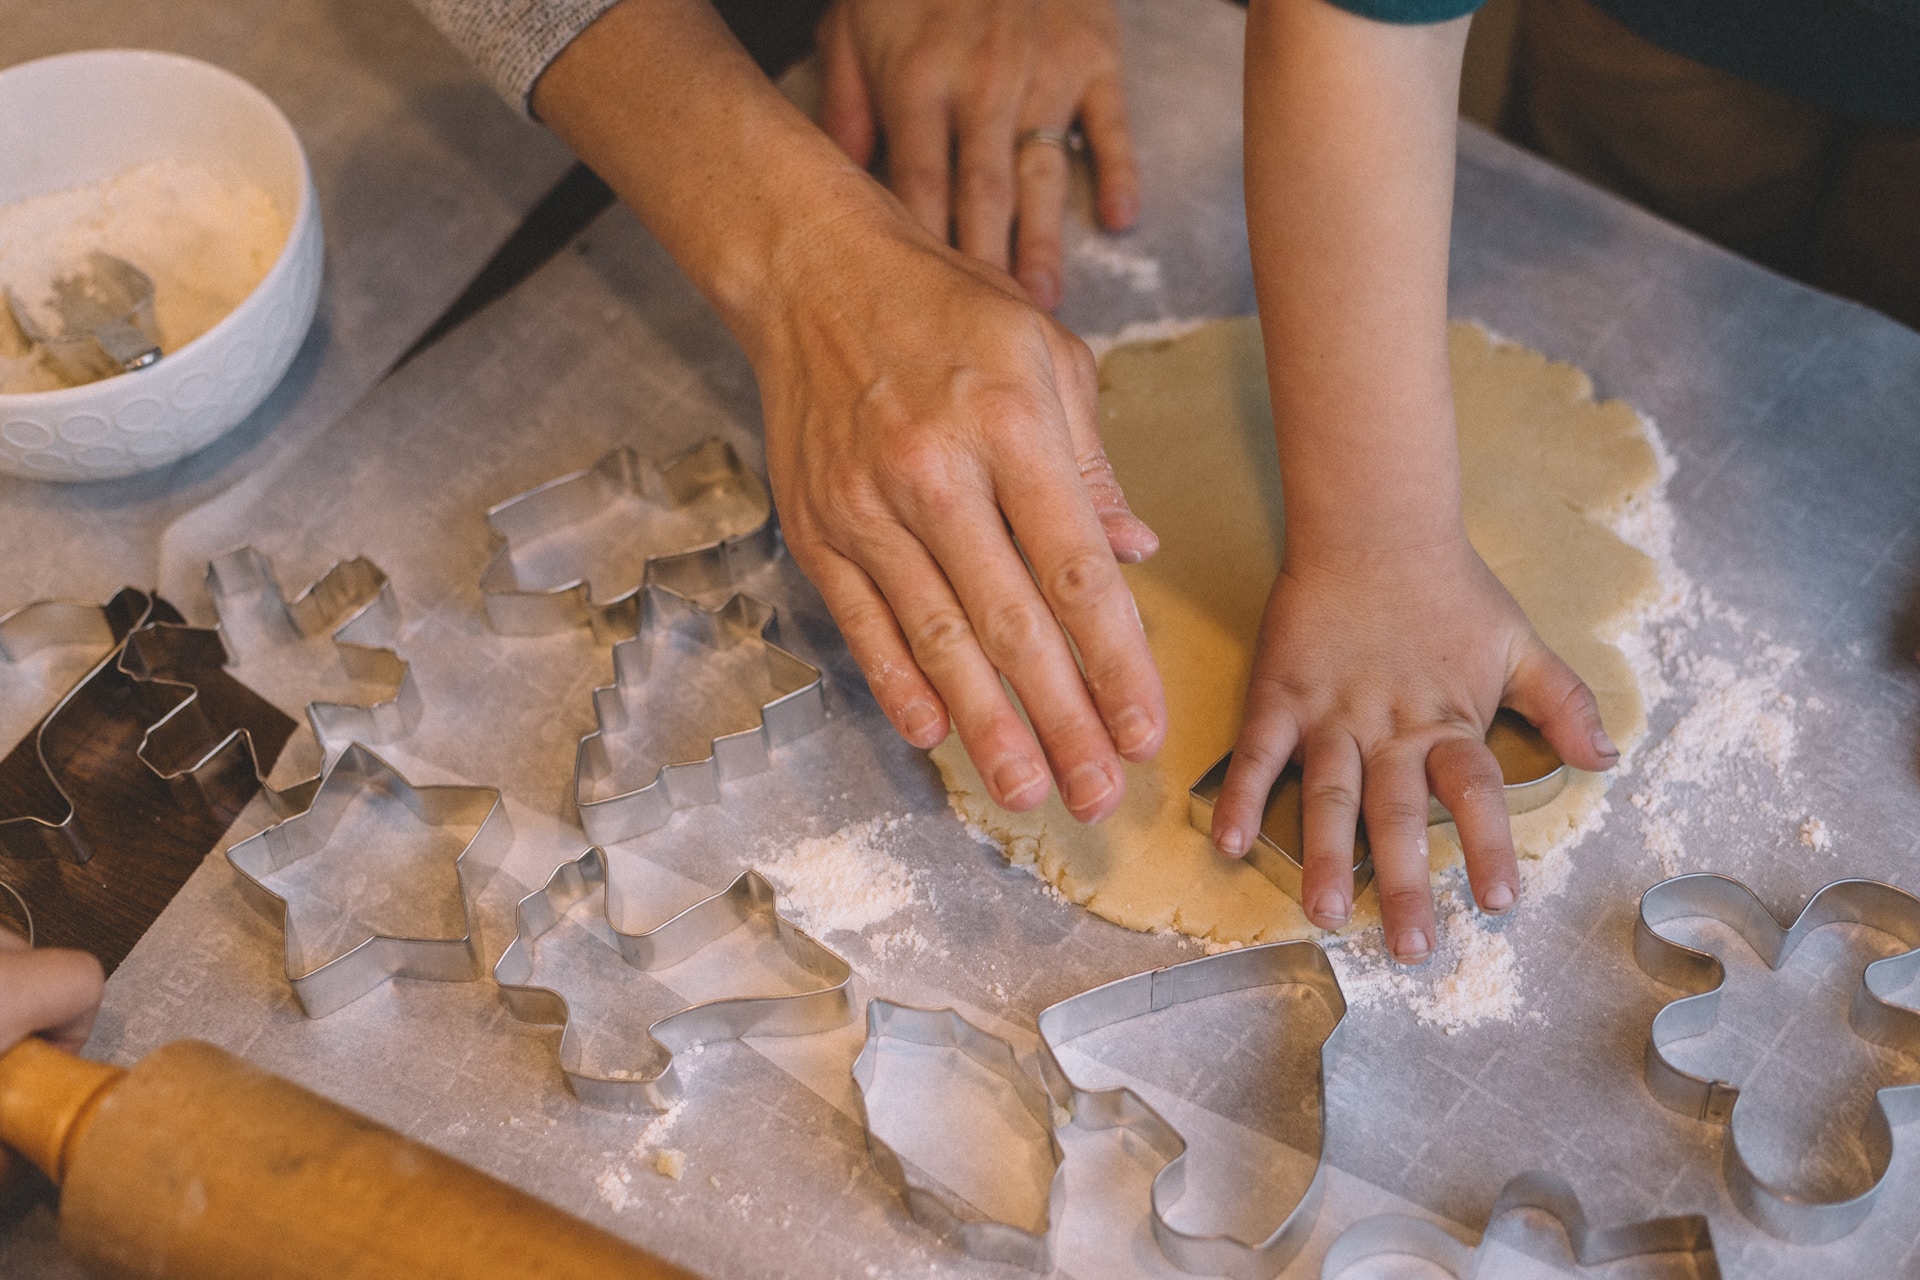
When you’re ready to bake, first preheat the oven to 350 degrees F, take out the dough and then roll it out on a lightly floured surface. Roll out the dough until it is at about 1/4 of an inch in thickness, and then use any cookie cutters you like to cut out dough. Place the cookie cutouts onto a baking sheet lined with parchment paper. Bake the cookies for between 10 and 12 minutes, but check on them: when the edges have begun to lightly brown, they are ready to come out. Allow the cookies to fully cool before using the icing.

This Can Be A Fun Activity With Kids
In the meantime, get your icing ready. In a large mixing bowl, whisk together the sifted confectioner’s sugar and meringue powder until well combined.
Add in the water, and mix the ingredients together with a stand mixer or electric hand mixer until it is smooth and shiny, and forms stiff peaks when the whisk is lifted. This can take several minutes, and it is important to not over-mix the icing, as it can become too thick and difficult to work with. While possible to do by hand, it will be tricky to reach the right consistency, so try to use an electric mixer.
If you want to add food coloring, divide the icing into separate bowls and mix in the desired colors until fully incorporated. You can also add additional water to thin the icing out to reach your desired consistency.
Transfer the icing to a piping bag or use a spoon to apply the icing to your baked goods.
When applying the icing, it’s important to work quickly, as royal icing can dry out and harden quickly.
Use a steady hand and apply the icing in smooth, even lines, taking care not to leave any air bubbles. It’s best to outline the cookie first, so as to create a dam, and then fill in the rest.

Great For Holiday Times
Allow the icing to dry completely before handling or decorating further. This can take several hours to overnight depending on the thickness of the icing and the humidity of the room.
Store any unused icing in an airtight container at room temperature for up to two weeks. You can also freeze it for up to a month.
Here are some tips for your royal icing:
To test if your royal icing is the right consistency, lift the whisk out of the bowl and turn it upside down. If the peaks hold their shape without drooping or falling over, the icing is ready to use.
If the icing is too thick, add more water one teaspoon at a time until it reaches your desired consistency. If it is too thin, add more sifted confectioner’s sugar.
Royal icing dries quickly, so keep it covered with a damp towel when not in use to prevent it from hardening too quickly.
Royal icing is great for decorating sugar cookies, gingerbread houses, and other baked goods. It can also be used to create intricate designs and decorations on these baked goods.

You Can Get As Creative As You Like


